Gather your supplies
Set out your wooden ornament, embroidery floss, a needle that fits through the holes, and scissors. Keep your ribbon for hanging the finished ornament.
 All ornaments
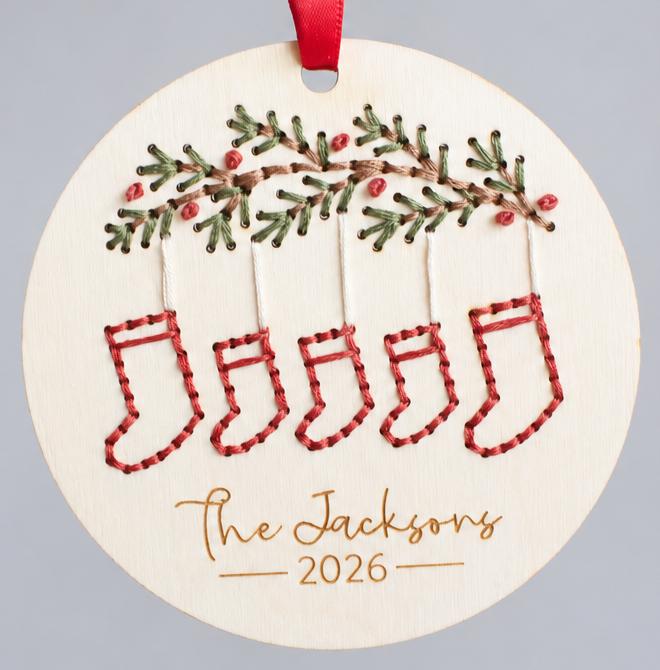
Back stitch greenery and stockings, with colonial knot berries. Stem stitch is an optional alternative for the stockings.
Set out your wooden ornament, embroidery floss, a needle that fits through the holes, and scissors. Keep your ribbon for hanging the finished ornament.
Moisten and flatten the floss end between your fingers, then pass it through the needle eye. If needed, separate the strands into two groups and pass each through the eye. You can use fewer strands if threading is difficult. Leave a short tail; do not double the floss.
Make a knot large enough to stay behind the hole, or hold the loose end on the back for the first few stitches. Always bring your first stitch up from the back of the wood.
Follow the scored lines and pre-cut holes. Pull each stitch until it lies neatly on the wood, without tugging hard. Keep the thread untwisted and work slowly if a hole already contains several stitches.
Work the greenery and stocking outlines, then add the berry knots. Use one straight stitch between the two holes for each hanging string.
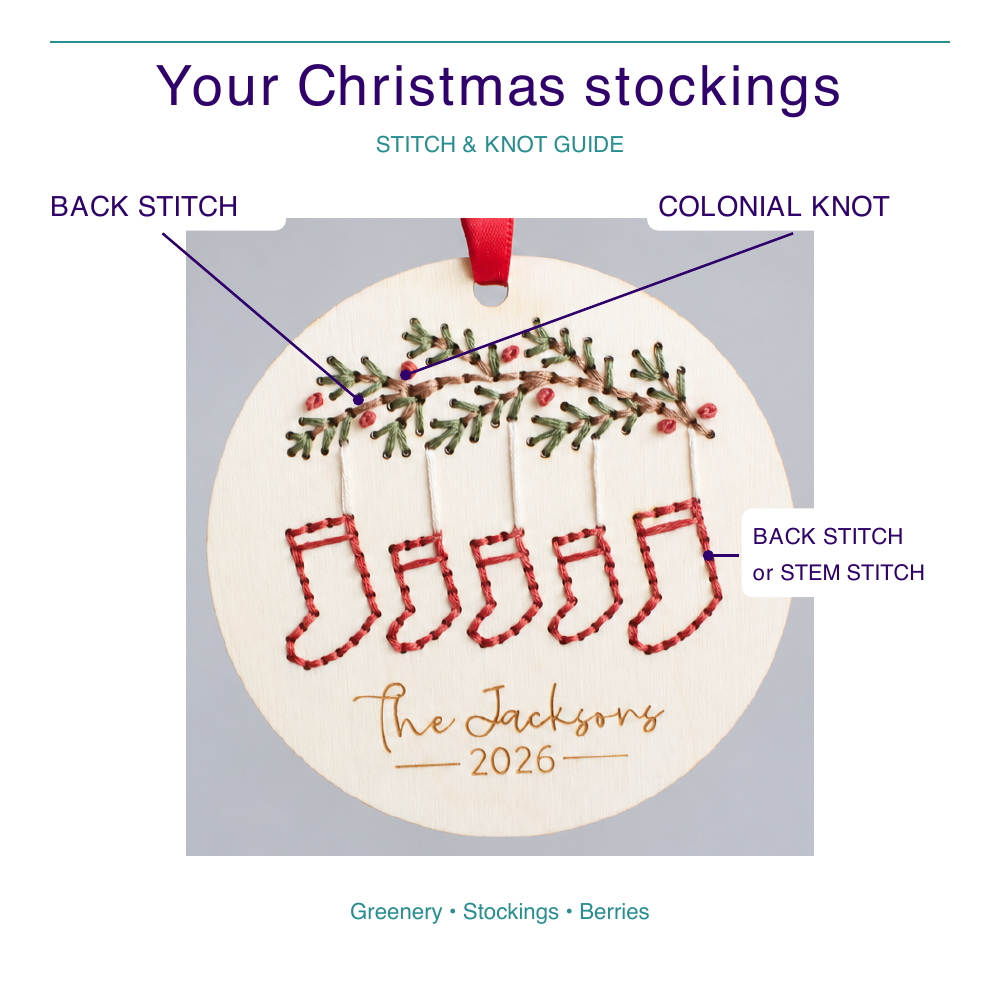
Pinch to zoom on your phone for a closer look.
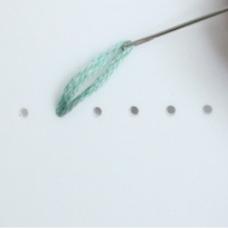
Step 1Bring the needle up from the back through the second hole in the line.
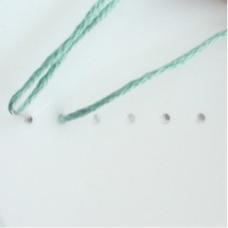
Step 2Take the needle down through the first hole.
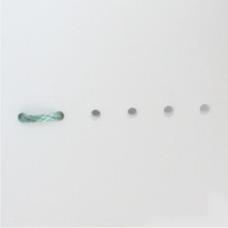
Step 3Pull the thread gently until the stitch lies flat against the wood.
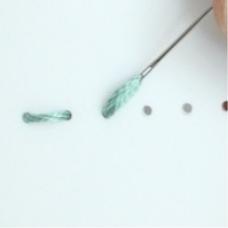
Step 4Come up through the next unused hole.

Step 5Go down through the previous hole to join the stitches. Repeat along the scored line.
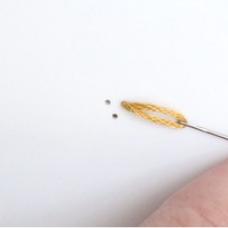
Step 1Bring the needle up through the knot hole.
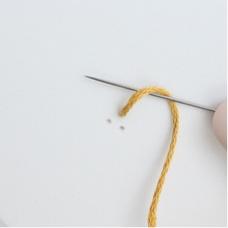
Step 2Slip the needle under the working thread to begin a loop.
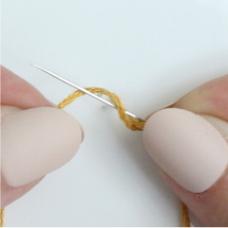
Step 3Bring the working thread over the needle tip to create a figure-eight wrap.
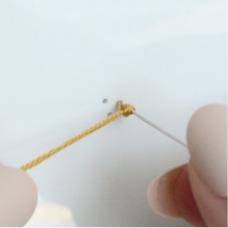
Step 4Hold the wrap snug and insert the needle back into the same hole, keeping gentle tension on the working thread.
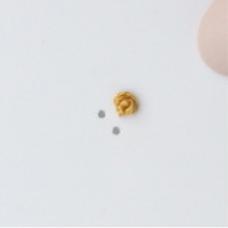
Step 5Pull the needle through to the back while holding the wrap in place, so the knot settles on the front.
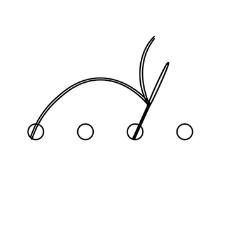
Step 1Come up through hole 1 and go down through hole 3, leaving the thread a little loose.
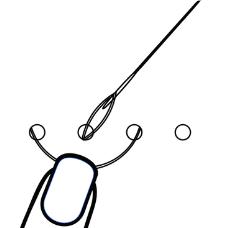
Step 2Keep the working thread below the stitch line and come up through hole 2.
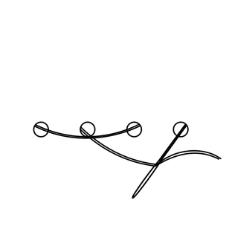
Step 3Skip ahead and go down through hole 4. Do not pull too tightly.
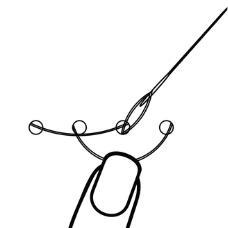
Step 4Keeping the thread on the same side of the line, come up through the previous hole.
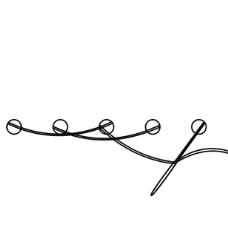
Step 5Repeat these overlapping stitches, keeping the working thread on the same side throughout.
Your ornament is ready to hang, gift, or keep. Small variations are part of making it by hand.